New Installation
License Portal Setup
Before the setup process, you should create an account in the Smartsign License Portal to manage your orders and licenses.
You can create an account at https://portal.smartsign.se even if your license order has not been delivered yet.
The server should always be installed using an account belonging to the organization, not a reseller or other entity.
Server Installation
Review the Preparation checklist and make sure all prerequisites are installed/available before proceeding with the server installation.
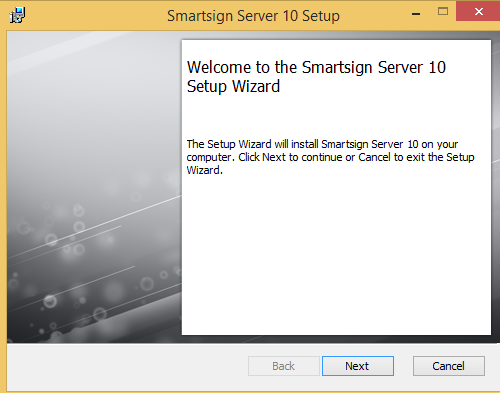
Get the latest installer for Smartsign Server 10 and run it.
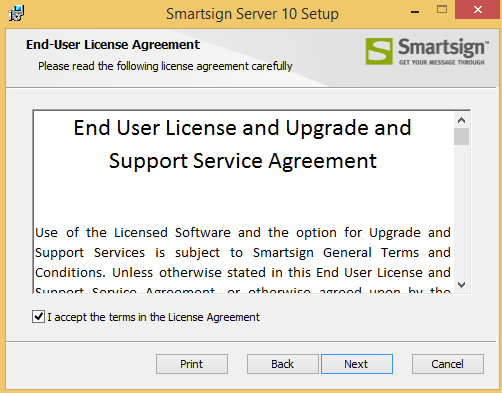
End-User License Agreement
Read and accept the License agreement. Then Click Next to continue with installation.
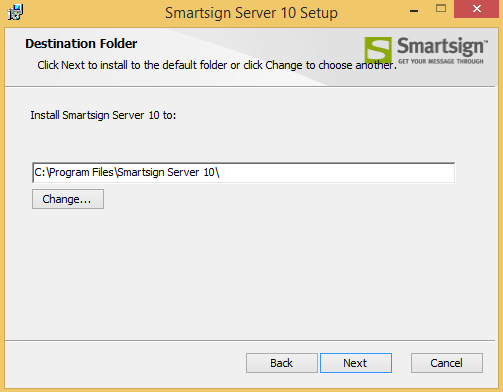
Destination Folder
Choose where to install Smartsign Server. Click Next to continue.
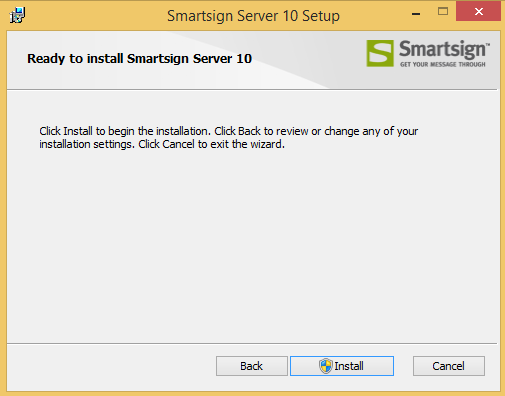
Ready to Install
The installer is now ready to begin. Click install to proceed with installation.
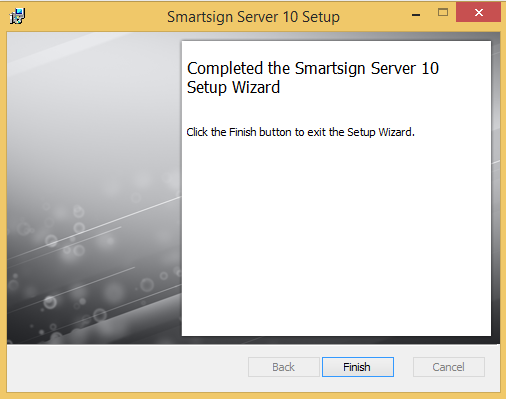
Installation complete
When the installer is done, it will launch a webpage to assist with
completing the installation. Press the finish button to close the installer.
Server Installer
The Server installer tool is launched automatically after the setup completes. It will assist you to install missing dependencies and prepare configurations for the server setup.
The Server Installer console window should be left running at all times when using the Server Installer. In it you can see some logging on the actions performed by it. Some errors/warnings are expected when check for system components etc so don't worry about it as long as the user interface says it's ok. Should the console window be closed for any reason, or you want to run the Server Installer again, you can launch it again from the start menu shortcut "Smartsign Server Installer".
Page 1 - Install dependencies
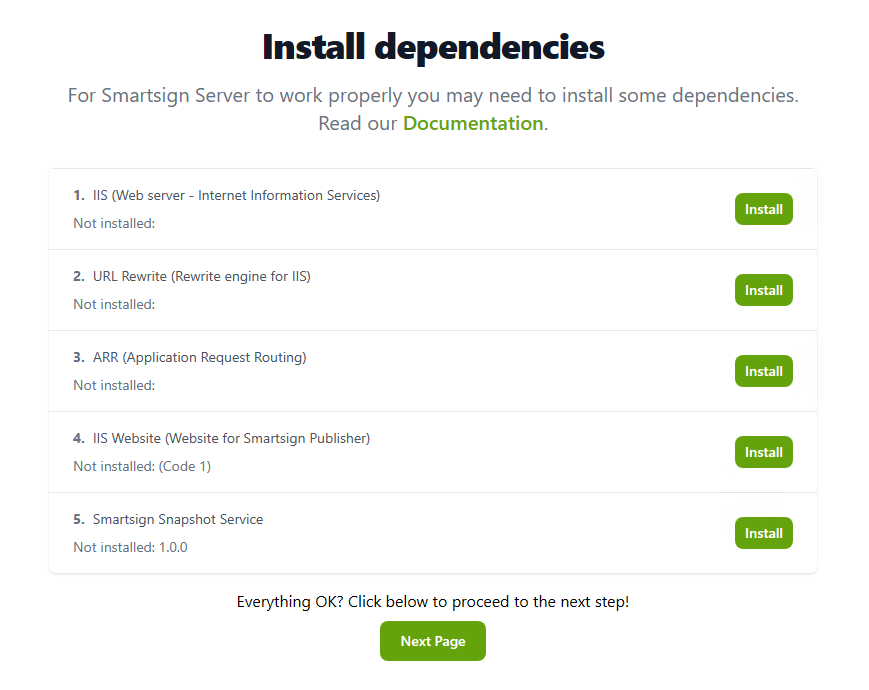
If you miss any components. Use the Install button to install them one
by one in the order listed. Please be patient since some steps may take
some time.
IIS (Web server - Internet Information Services)
For the wizard to be able to assist with this, the server must have the
Windows server installer sources available. Otherwise you'll need to install IIS manually.
URL Rewrite (Rewrite Engine for IIS)
Microsoft's rewrite engine for IIS, used for reverse proxying calls to embedded microservices.
ARR (Application Request Routing)
Microsoft's application request routing addon, needed to enable reverse proxy support in URL rewrite.
IIS Website (Website for Smartsign Publisher)
If a Smartsign website is not already configured in IIS, the default web
site will be stopped and a new web site will be created for Smartsign
including needed sub-applications.
(In some cases the website may just be missing some configuration, clicking install will then fix the missing parts.)
Smartsign Snapshot Service
Smartsign snapshot service is a required component of any Smartsign
installation, but in some scenarios it can be installed on a different
computer. For this reason it's not required to install it before you
proceed, but as a rule of thumb you should always install it if you are
setting up a new server. If the intention is to have a separate
installation, that should be setup after the server is up and running,
after which the locally installed snapshot service can then be
uninstalled.
Page 2 - Smartsign Configuration
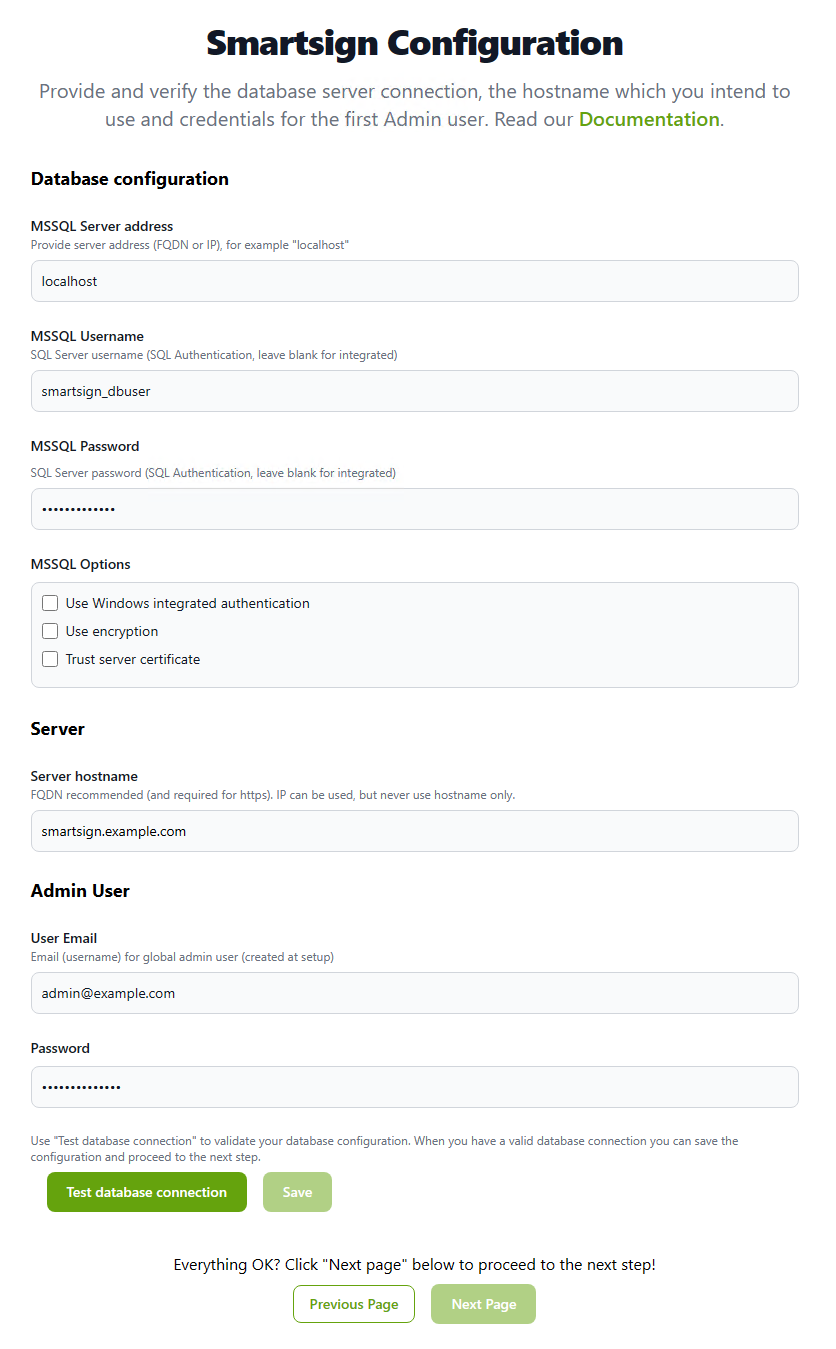
MSSQL Server address
Provide the address to the MSSQL Server, for example "localhost",
see Microsoft SQL Server for additional
examples.
MSSQL Username
The username for your database login, for example "smartsign_dbuser".
See Microsoft SQL Server for more information.
Leave blank if you want to use Windows integrated authentication.
MSSQL Password
The password for your database login. Leave blank if you want to use Windows integrated authentication.
MSSQL Options
| Use Windows integrated authentication | Enables Windows integrated authentication. Keep
in mind that the database connection test will be performed with the
currently logged in user. We recommend that you immediately open the Windows service manager and configure a service account and password on the Smartsign Server 10 service (do not start it) so that it's ready and has access to the SQL Server when it's started after the configuration is completed. |
| Use encryption | Explicitly enables encryption on the SQL connection (required if using Azure SQL) |
| Trust server certificate | Explicitly trust the server certificate |
Server hostname
The complete server address for your server, we recommend using a Fully Qualified Domain Name (FQDN) and preferably a CNAME like smartsign.myorganization.org, rather than the server's own name.
Inconsistent use of IP and/or DNS name can cause issues with the Publisher web interface, connected players, authentication, security and more.
The hostname that you configure here is what you should use, both when connecting players (hostname/URL) and when accessing the web interface.
It is important to be consistent and either use only IP address or only FQDN hostname both when using the web interface and when connecting players.
The hostname should resolve correctly through DNS both on the server, web browsers on other computers and on player hardware.
Avoid using temporary names, set it correct the first time to avoid issues and reconfigurations.
|
Example hostname |
Description |
|
MYSERVERNAME |
DO NOT USE. This is bad configuration. A PC can resolve this name in most cases, but it's not a correct DNS name and will be unresolvable for most hardware-based players. |
|
192.168.1.10 10.10.10.150 |
Common IP addresses. This is a working configuration and can safely be used for both PC and other devices. It is however limited since you will only be able to use unencrypted http communication. |
|
[myservername.mydomain.com](http://myservername.mydomain.com) [smartsign.mydomain.com](http://smartsign.mydomain.com) |
FQDN addresses, Fully Qualified Domain Name. These are complete DNS addresses and will work on both PC and other devices. This is the recommended and most flexible configuration for your server. |
Admin User Email
The email address of the first admin user, this user will be the
global admin for the server
Admin User Password
The password for the first admin user. This can only be set here on
first installation and must meet complexity requirements (At least 12
characters, min 1 lower case, min 1 upper case, min 1 special).
Test database connection
Click the button the test the database connection. If the settings are
correct you will normally get a result in seconds, but failed attempts
can take up to a minute so be patient.
A successful test is indicated on the button as such:

Save
Save the configuration, the button is enabled once you have a
successful database connection test.
Page 3 - Smartsign Email Configuration
Providing an email configuration is required for the Identity server to function, but it is possible to input a non working configuration and return later if necessary.
Smartsign Display Manager uses Smartsign Identity for authentication. It's an authentication server implementing OpenID Connect (OIDC) and OAuth 2.0 standards.
- It requires you to verify email addresses and also sends out new user invites using email, which means outbound email configuration is critical.
- The Server Installer allows you to configure and test your outbound email configuration.
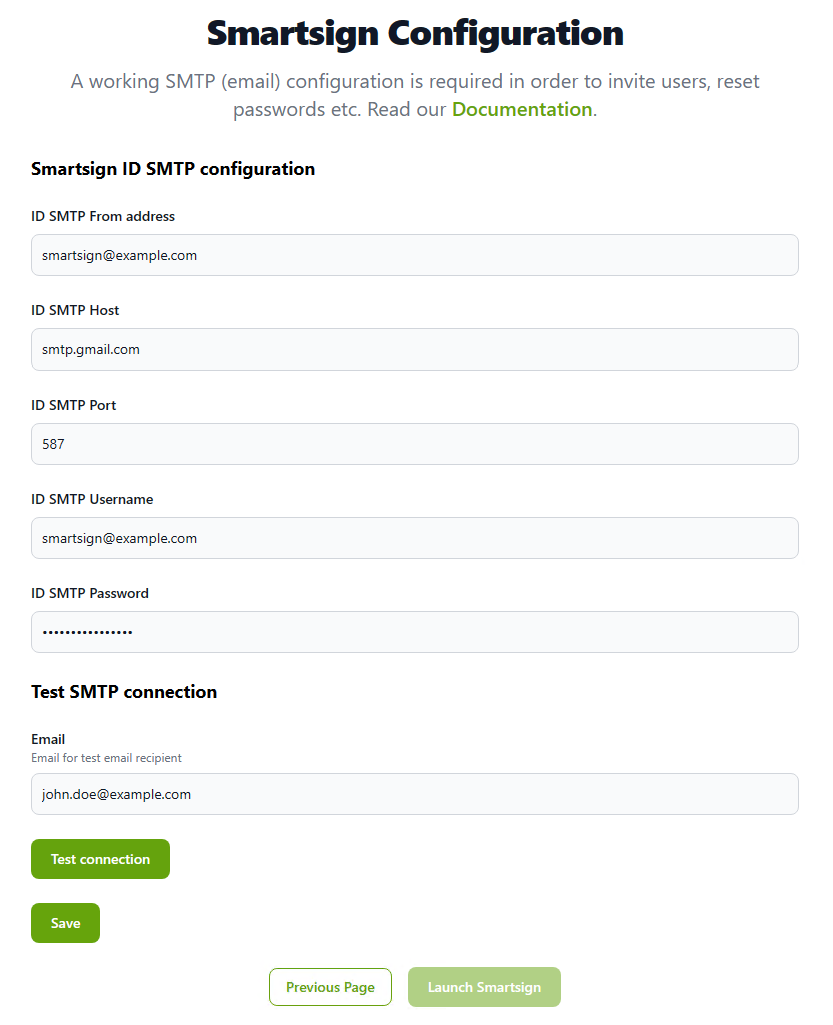
ID SMTP From address
The from address in emails sent by Smartsign
ID SMTP Host
Address to the SMTP server, use either FQDN or IP
ID SMTP Port
Port to use for the SMTP Server
ID SMTP Username
The username for the SMTP server (leave blank if not used)
ID SMTP Password
The password for the SMTP server (leave blank if not used)
Test connection
Send a test email to the email address provided to verify function. Check the recipient's inbox to confirm success.
Save
Saves the configuration
Launch Smartsign
Once you are happy with all the configurations, click the Launch
Smartsign button. This will leave the Server Installer and launch the
Smartsign Setup wizard that will assist you in completing the
installation.
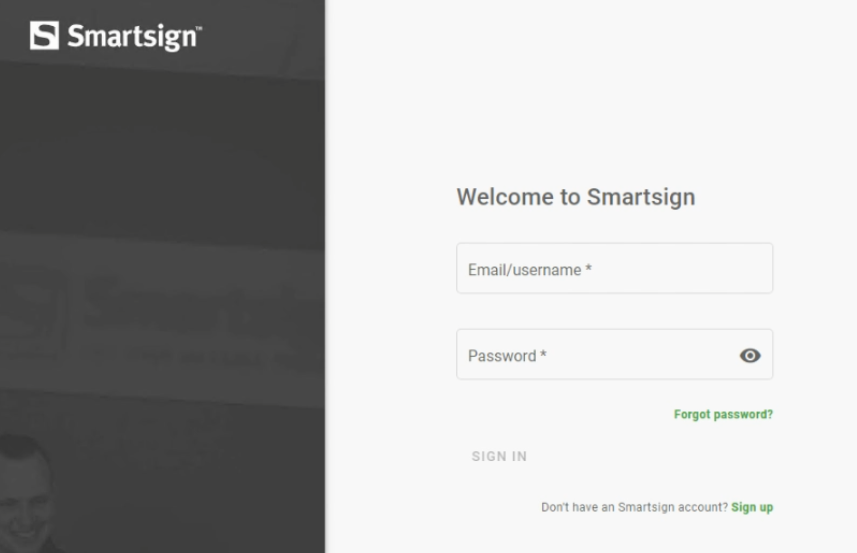
Smartsign Setup
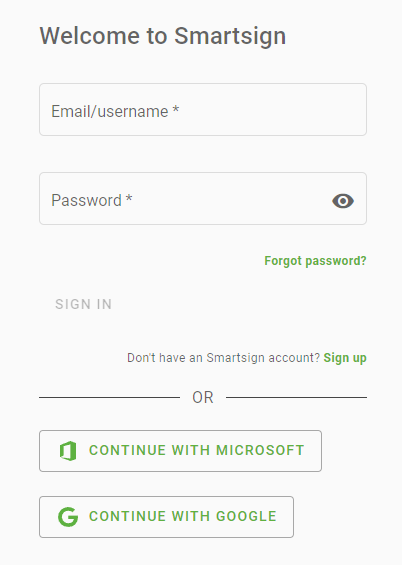
The web browser will now launch and first take you to Smartsign Identity.
Sign in using the admin credentials which you provided in the Server Installer.
After the sign in, select Display Manager
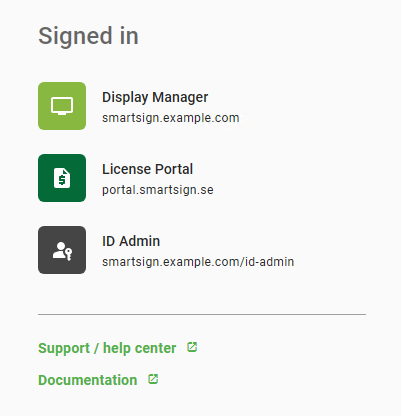
You will be automatically redirected to the Smartsign setup wizard.
Follow the instructions provided on screen to prepare the server.
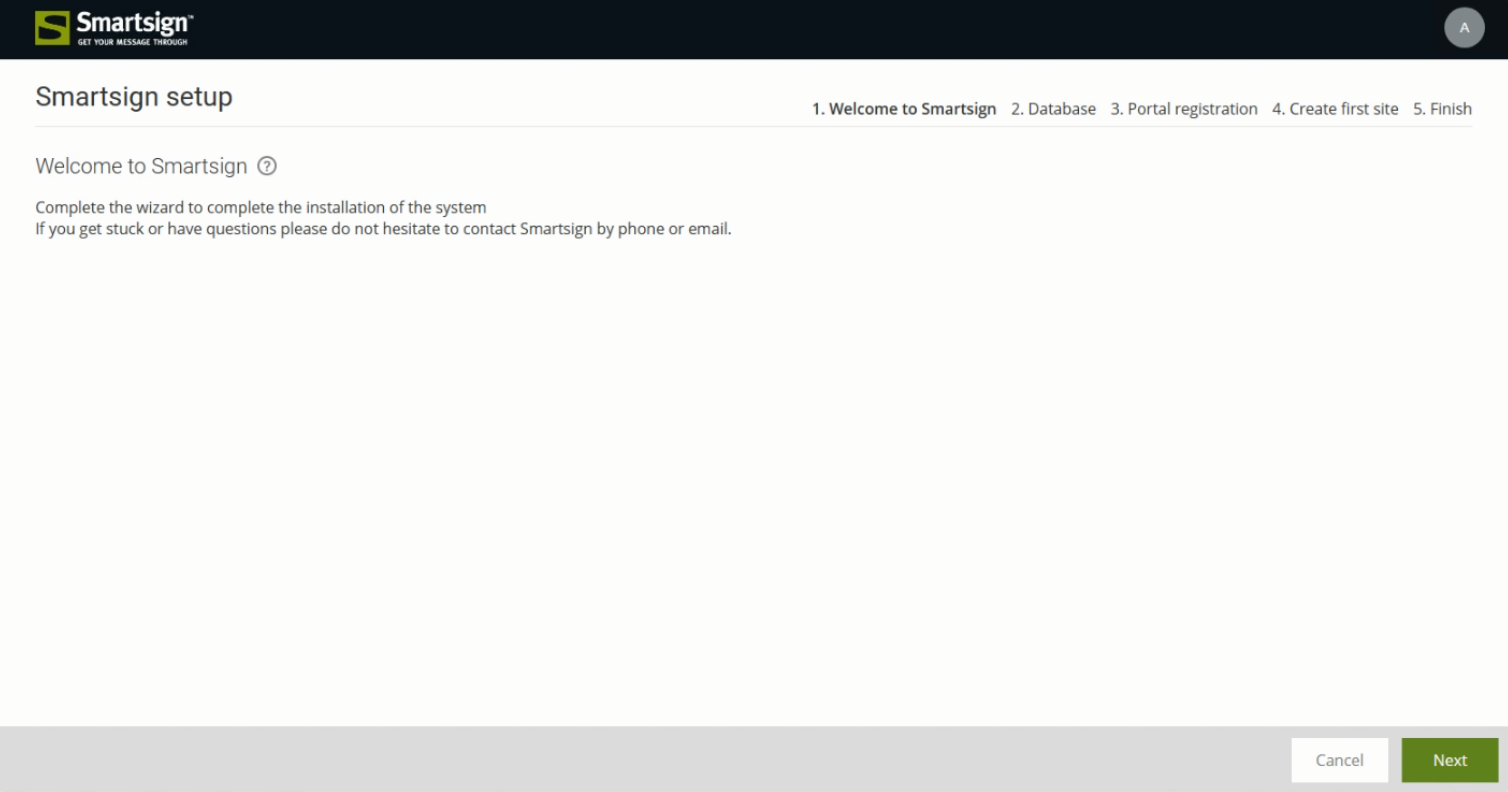
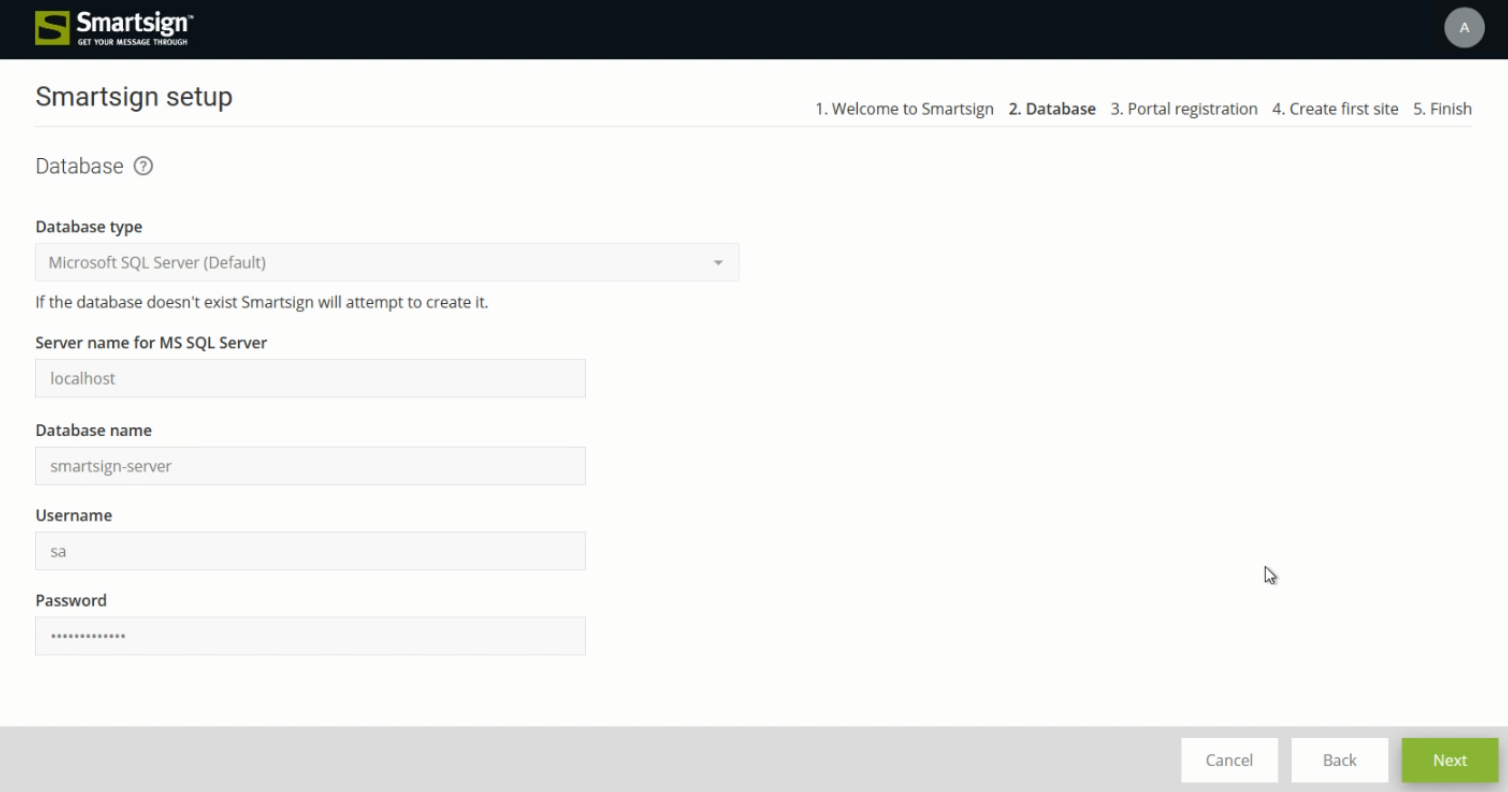
2. Database
The database page show the information you have previously provided in the Server Installer, click Next to proceed
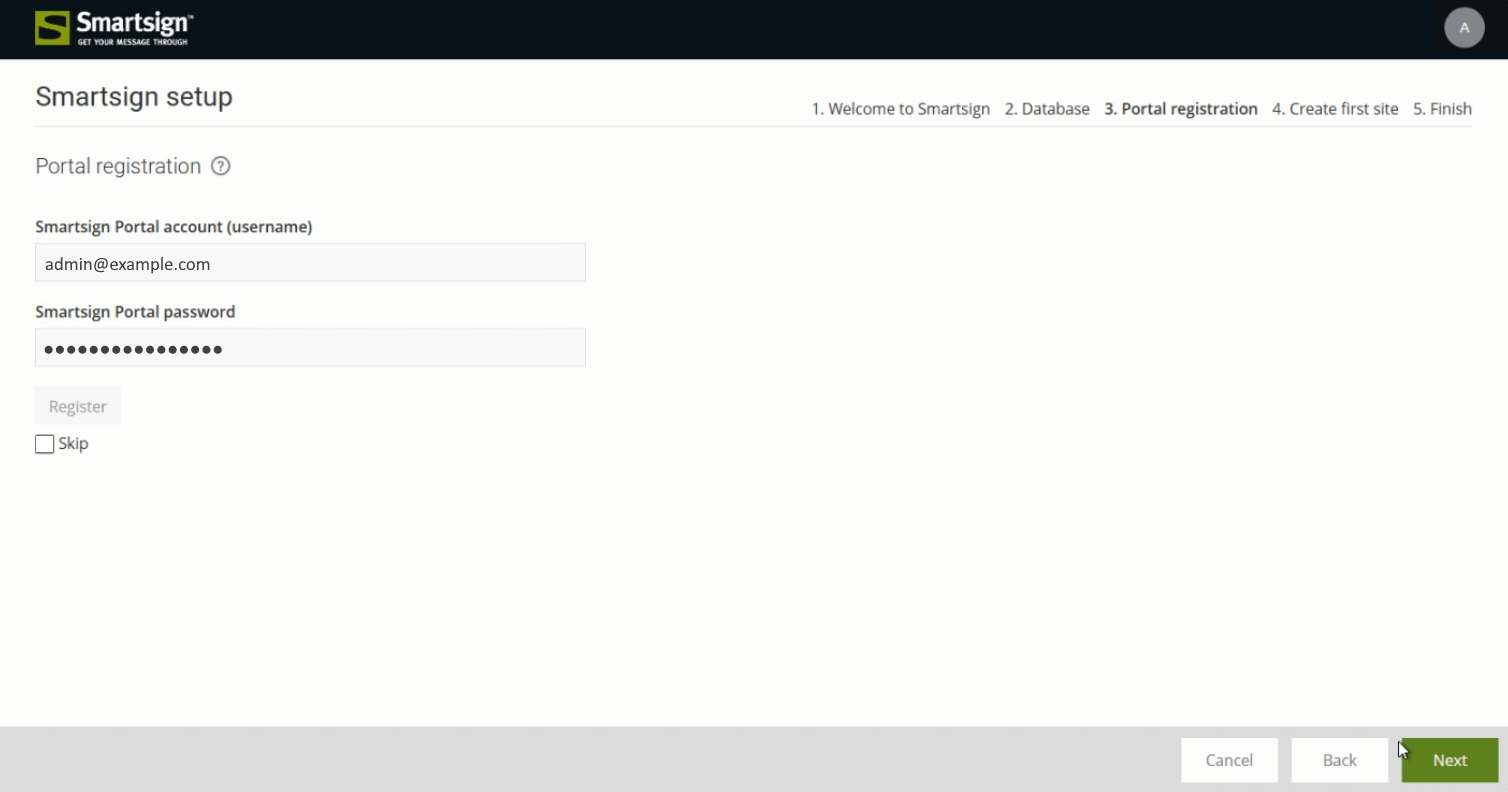
3. Portal registration
Enter the username and password created earlier for the License Portal
and then click Register. A notification will tell you if it successfully
connects to the portal.
We strongly recommend not skipping this step. It's better to have a
correct configuration from the start instead of having to manually edit
the configuration afterwards.
Troubleshooting portal connection
|
Possible cause |
Troubleshooting |
|
Incorrect credentials |
Open a web browser |
|
Access to https://portal.smartsign.se is blocked |
Make sure that the Smartsign Server Service has access to the Internet or at least https://portal.smartsign.se Example actions
|
4. Create first site
Provide the name of the first site, i.e. the root site of this server. Your company name is usually the best choice.
Click Create to generate the database and complete necessary configurations.
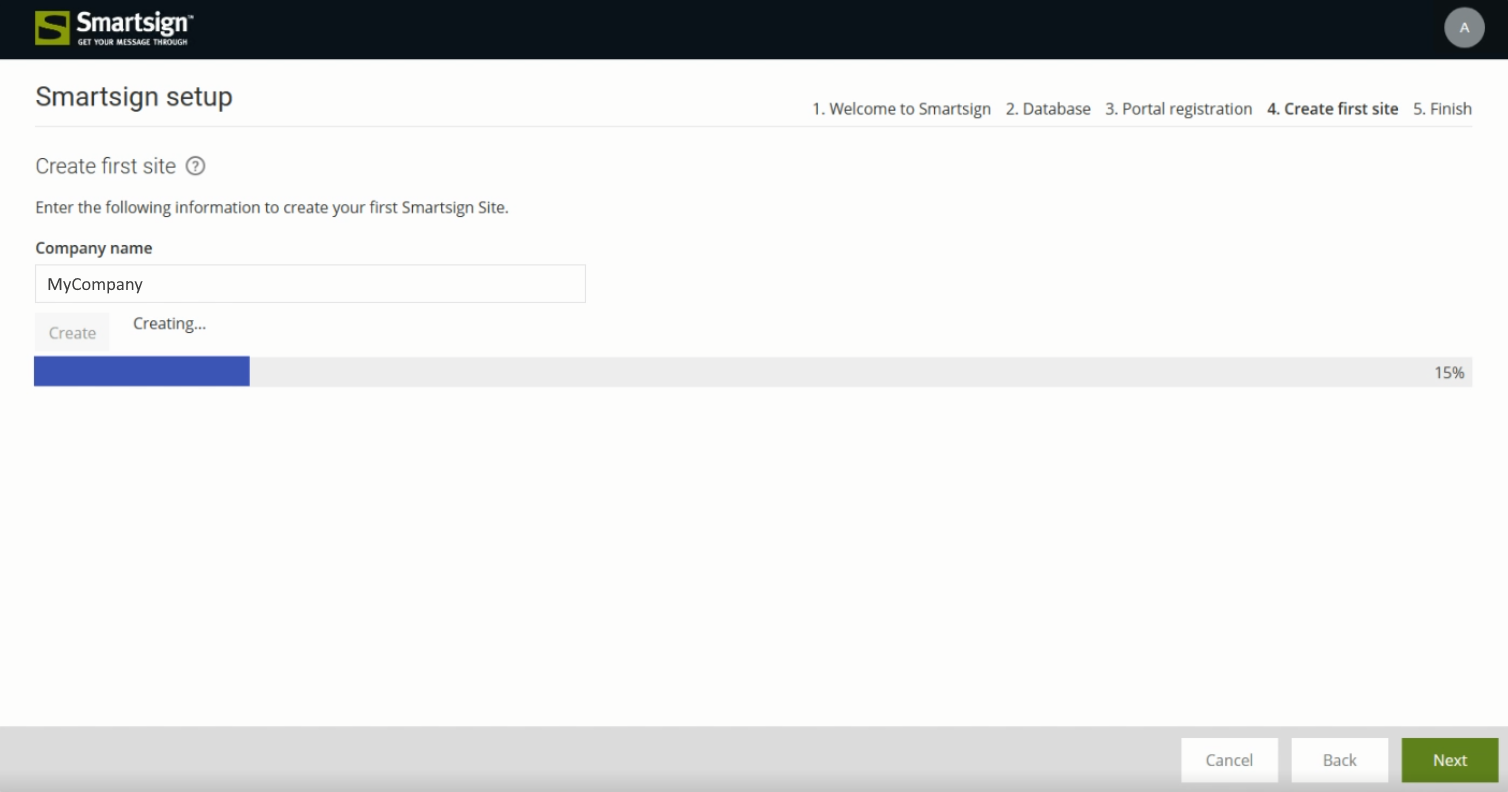
You will get a success message when operation has successfully completed.
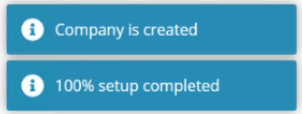
Click Next to continue and then Finish to save everything and proceed to Smartsign Publisher.
Installation completed
The server installation should now be complete.
If you did not add your licenses already, it's time to do so.
Please see the section License allocation for further information.